

It has been one full year since the first ever O&O Eats post went live. And guys, it has been one helluva ride. I am constantly amazed there is this incredible community of people (I'm talking about you guys, yeah you) who come together over our shared love of food. Making it, eating it, getting into long winded conversations about it. So much has happened in this short time, can we just talk about how wonderful and sometimes terrible the past year has been? I won't say it was easy by any means, this space was originally created to catalogue recipes and be a place where I could productively channel my energies while unemployed, and that's what it was for a while. But when I realized other people who weren't my mom or boyfriend were reading this blog, I slowly started to lose my mind. Rather than being a productive outlet, it became an unhealthy obsession precisely because I had nothing else to focus on. There were more than a few occasions where I surprised even myself with the depths at which my obsession ran, mostly with my photography than anything else. Weeks and weeks of nitpicking over tiny, insignificant details: a rogue scallion in a photo, a piece of bread not toasty enough, shoots, re-shoots, re-shoots of re-shoots, to say nothing of the unimaginable hours spent in photoshop. Food is imperfect, and I couldn't figure out how to use that imperfection to my advantage instead of fighting it. Hours, days, wasted away, only worsening the pressure I put on myself to get x number of posts out per week. And unfortunately, due to my unwillingness to reach out to other bloggers for fear of rejection or whatever other bullshit excuse I could come up with, there was no one to snap me out of my funk, no kindred spirits to commiserate with. Had I known how warm and inviting the community was back then, believe you me, I would have done things differently.
Then, back in October of last year, I went to a food photography workshop hosted by the amazing duo behind First We Eat, Eva and Carey, and finally had my very first conversations with other people doing the same thing. I couldn't believe how nice and friendly everyone was. I left the workshop with some wonderful new friends and the much needed perspective which had been missing from my life for the better part of six months and things only went up from there. I got a job shortly after, which made time for blogging scarce. It became a treasure, a weekend activity where only positive energy was allowed. I learned to let go if a recipe or a photo didn't turn out as planned, to start over instead of obsess, the newly found perspective freed my mind from those miniscule details and allowed me to focus on bigger things like finding a writing and photography style, developing creative recipes, interacting with people, and actually enjoying myself again. This blog has been slowly plugging away since then, and though circumstances surrounding my life have changed, the one thing that remains constant is how much I love this space and everything it has become: a creative outlet, a cooking laboratory, an opportunity for friendships that would have never occurred otherwise. The words I want to write to express my gratitude for all of you elude me, and I don't want to get too sentimental, but suffice it to say, this little corner of the internet would be nothing without you, my dear readers and friends.


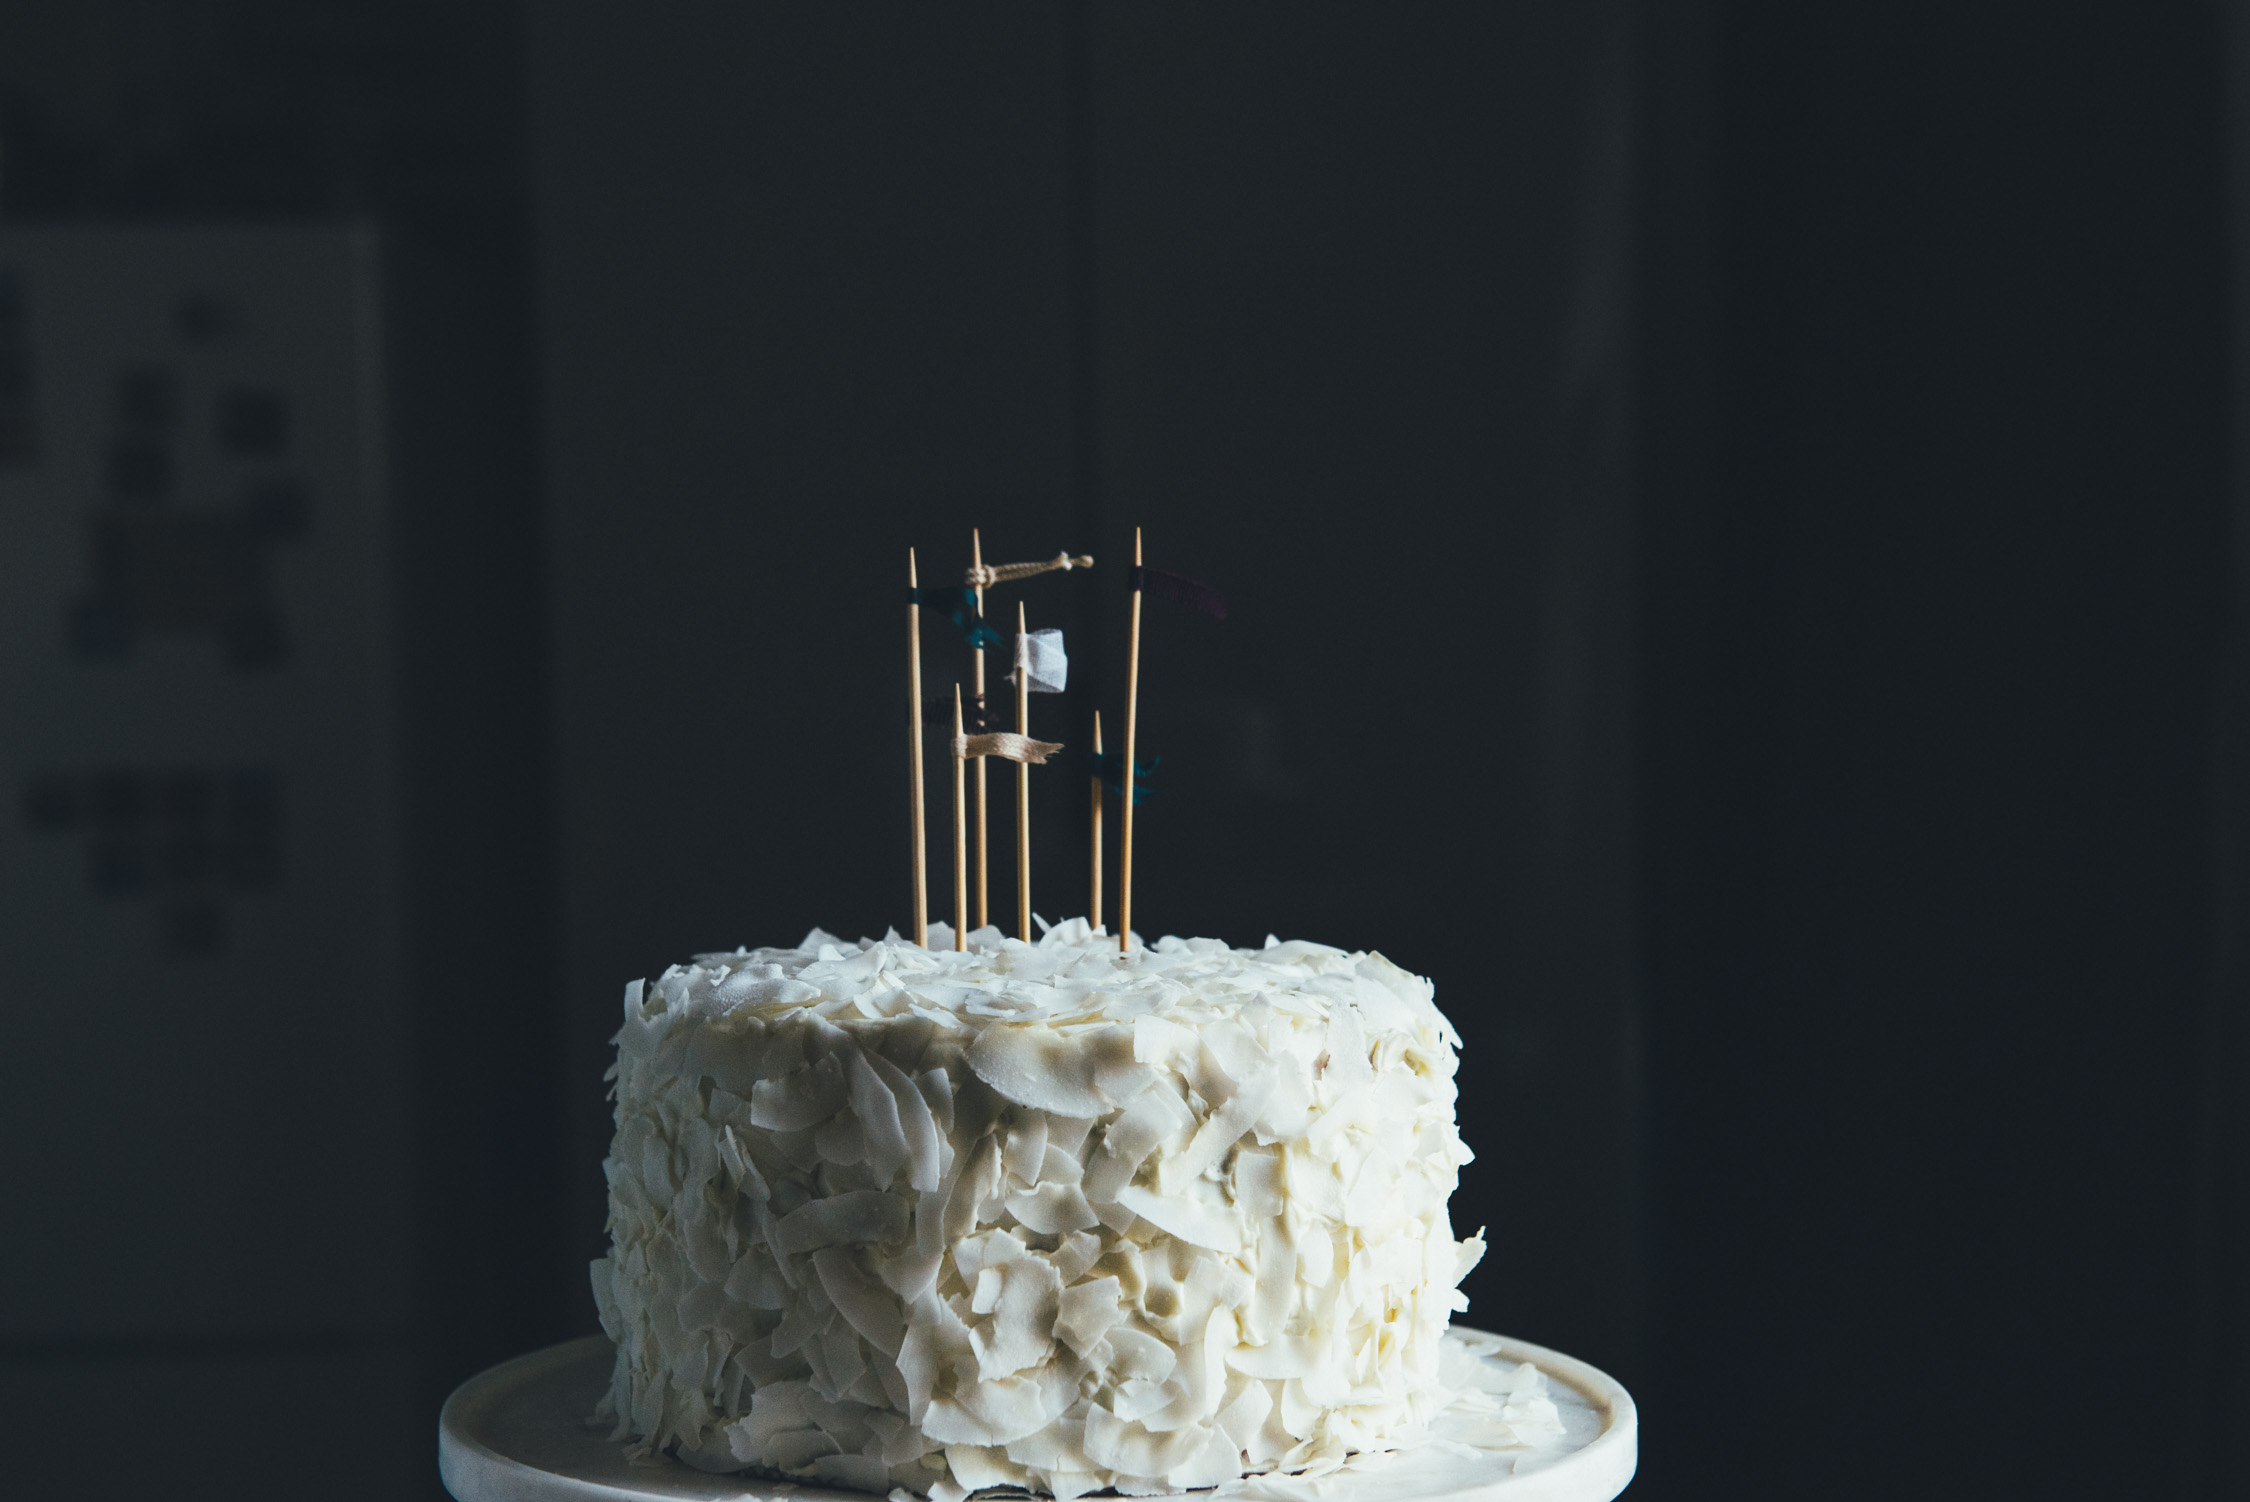
To celebrate, a coconut cake with mascarpone frosting, champagne optional but highly recommended. Coconut cake isn't exactly a quintessential celebration cake, it doesn't particularly stand out, and in fact is probably quite old-fashioned and outdated compared to edgier cakes made from valrhona chocolate or rainbow food coloring. But I find its simplicity almost regal, timeless, elegant. A well made coconut cake should turn someone who claims they don't like coconut into a believer.
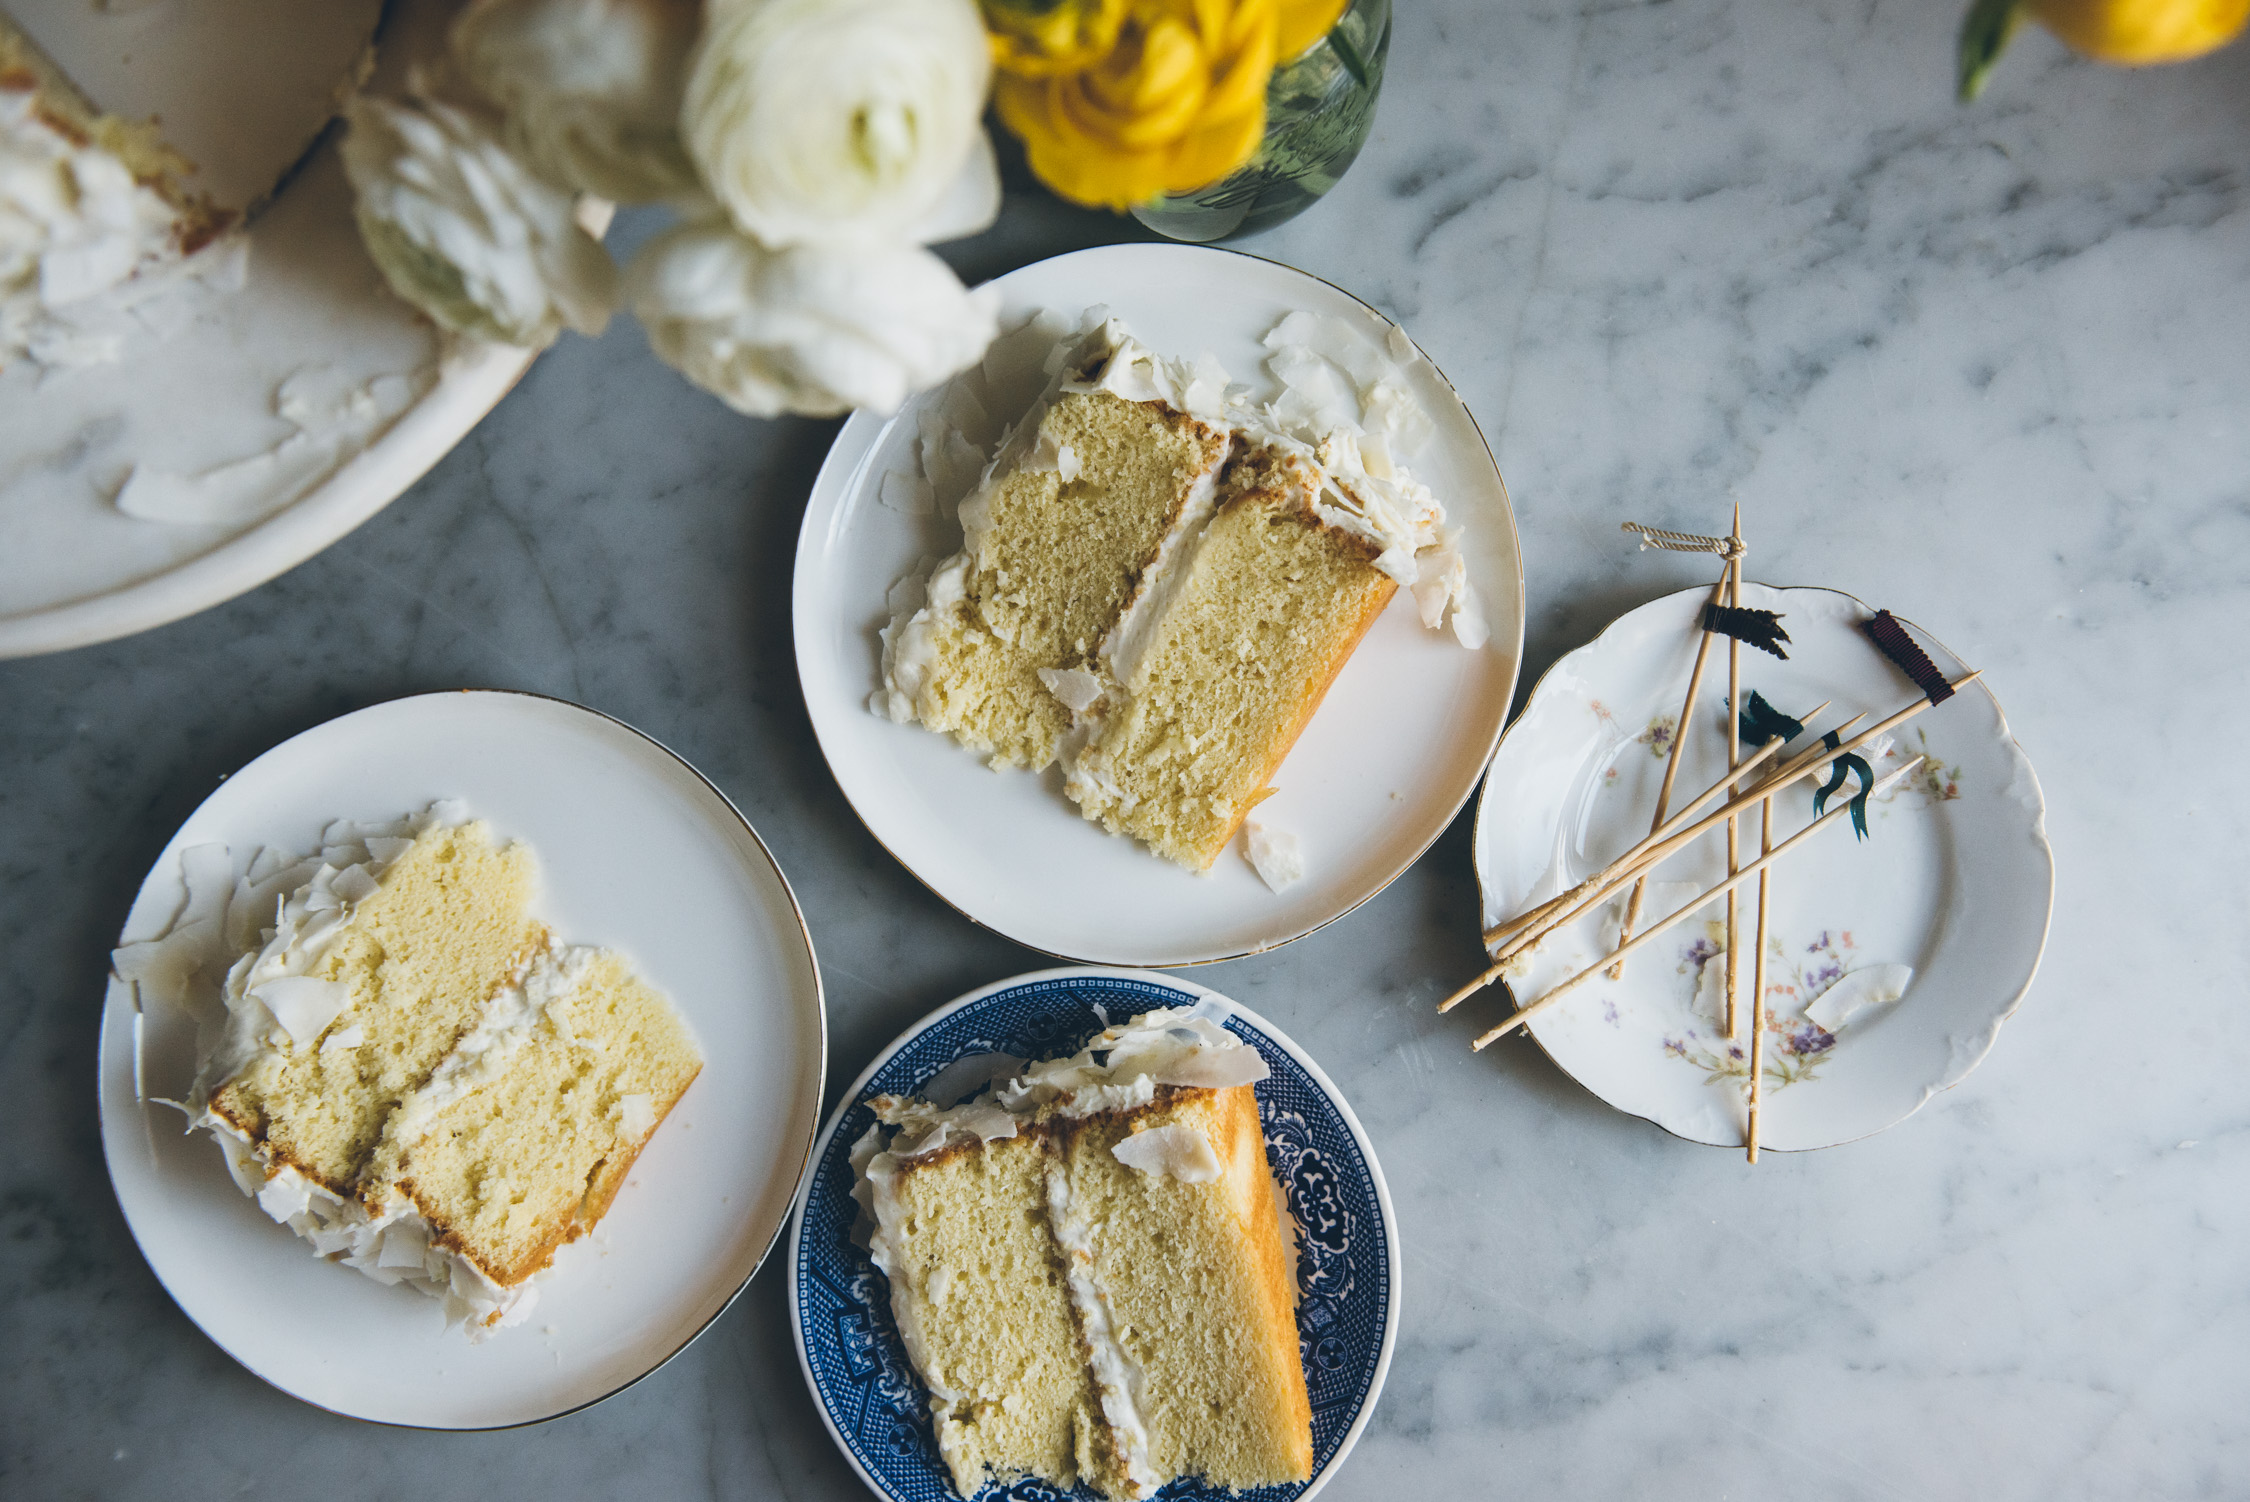
The cake itself is a simple yellow cake. Some recipes call for a small amount of coconut extract, but I hesitate to use it for fear of an artificial flavor, especially because I have never actually seen coconut extract in stores, only things which purport to have a natural coconut "flavoring." During one test run, I did use some creamed coconut (also known as coconut butter) in the cake, mixing it into the the milk beforehand, and though it provided a slight coconut flavor it also changed the texture of the cake, making it slightly gritty. So a simple yellow cake it was, the perfect vessel to let the frosting and coconut flakes shine.
The frosting is only three ingredients: the coconut cream portion of coconut milk, a good amount of mascarpone, and a touch of powdered sugar. Frosting has always been the challenging portion of cakes for me. I very much dislike any kind of american buttercream (butter + powdered sugar + a touch of heavy cream), they are always too sweet and too grainy, and for some reason unbeknownst to me, they are often the default frosting people go to, especially when going sans-chocolate. Cream cheese frostings are a great alternative, and here, instead of doing regular bricks of philly cream cheese, we're using mascarpone, an italian cream cheese which is much lighter, but still offers the nice tang we associate with a classic cream cheese frosting.
Finally, lets not forget about the great swaths of coconut flakes which provide not only visual appeal but so much coconut-iness. I highly recommend getting flaked coconut instead of shredded, the texture is far better, and also unsweetened instead of sweetened, the rest of the cake will provide all the sweetness you need. And that's it, a timeless, classic coconut cake.


Notes:
Yields one 8 inch layer cake. Serves 12 to 16.
Ingredients:
3 & 1/2 cups (420 grams) cake flour, sifted
1 tbsp plus 1 tsp baking powder
1/2 tsp salt
1 cup (227 grams) unsalted butter, room temperature
2 cups (400 grams) granulated sugar
5 large eggs, whites and yolks separated
1 cup whole milk, room temperature
1 tsp vanilla extract
1 can full fat coconut milk, chilled overnight
500 grams mascarpone, chilled
1/2 cup powdered sugar, sifted
lots of unsweetened coconut flakes (either regular or toasted) for garnish
Instructions:
Preheat oven to 350 degrees F. Butter two 8 inch cake pans and line the bottoms with parchment paper. In a large mixing bowl, whisk together flour, baking powder, and salt. In a stand mixer, beat butter and sugar with the paddle attachment until light and fluffy, 4 to 5 minutes. Add egg yolks and mix for another 30 seconds. In a liquid measuring cup, combine vanilla extract with milk, and give it a light stir. To the butter/sugar mixture, alternate adding in the dry and wet ingredients in two batches, mixing on low until just combined each time. Transfer batter to a large mixing bowl and clean out the stand mixer bowl with soap and water. Add egg whites to the clean bowl and mix on medium high speed with the whisk attachment until stiff peaks form. Err on the side of under-whisking rather than over-whisking, you don't want the whites to become grainy and start separating. Fold a quarter of the egg whites into the cake batter to loosen it up, then gently fold in the rest. Transfer batter evenly between the two cake pans and bake for 40 to 45 minutes or until a toothpick inserted in the center comes out clean.
Remove cakes from oven and let cool for 15 minutes before turning them out and transferring to a cooling rack. Once the cakes are only slightly warm, wrap them tightly in plastic wrap and place in the refrigerator for at least 2 hours or until completely chilled.
Make the frosting by turning the can of coconut milk upside down. Open the can and drain the liquid off, reserving it for future use. Spoon the coconut cream (it will be quite hard at this point) into the bowl of a stand mixer fitted with the whisk attachment. Whisk for 3 to 4 minutes until loose and fluffy. Add mascarpone and powdered sugar. Whisk on medium speed for another 2 to 3 minutes, at first the frosting will look too runny, but just keep whisking and it will stiffen up to a nice, spreadable consistency.
Frost your cake using a third of the frosting in between the layers and the rest outside. Gently press coconut flakes all around. Slice and enjoy. If not eating immediately, place cake (preferably covered or under a dome) in the fridge and take it out 30 minutes before serving.